

Sewing Guidelines
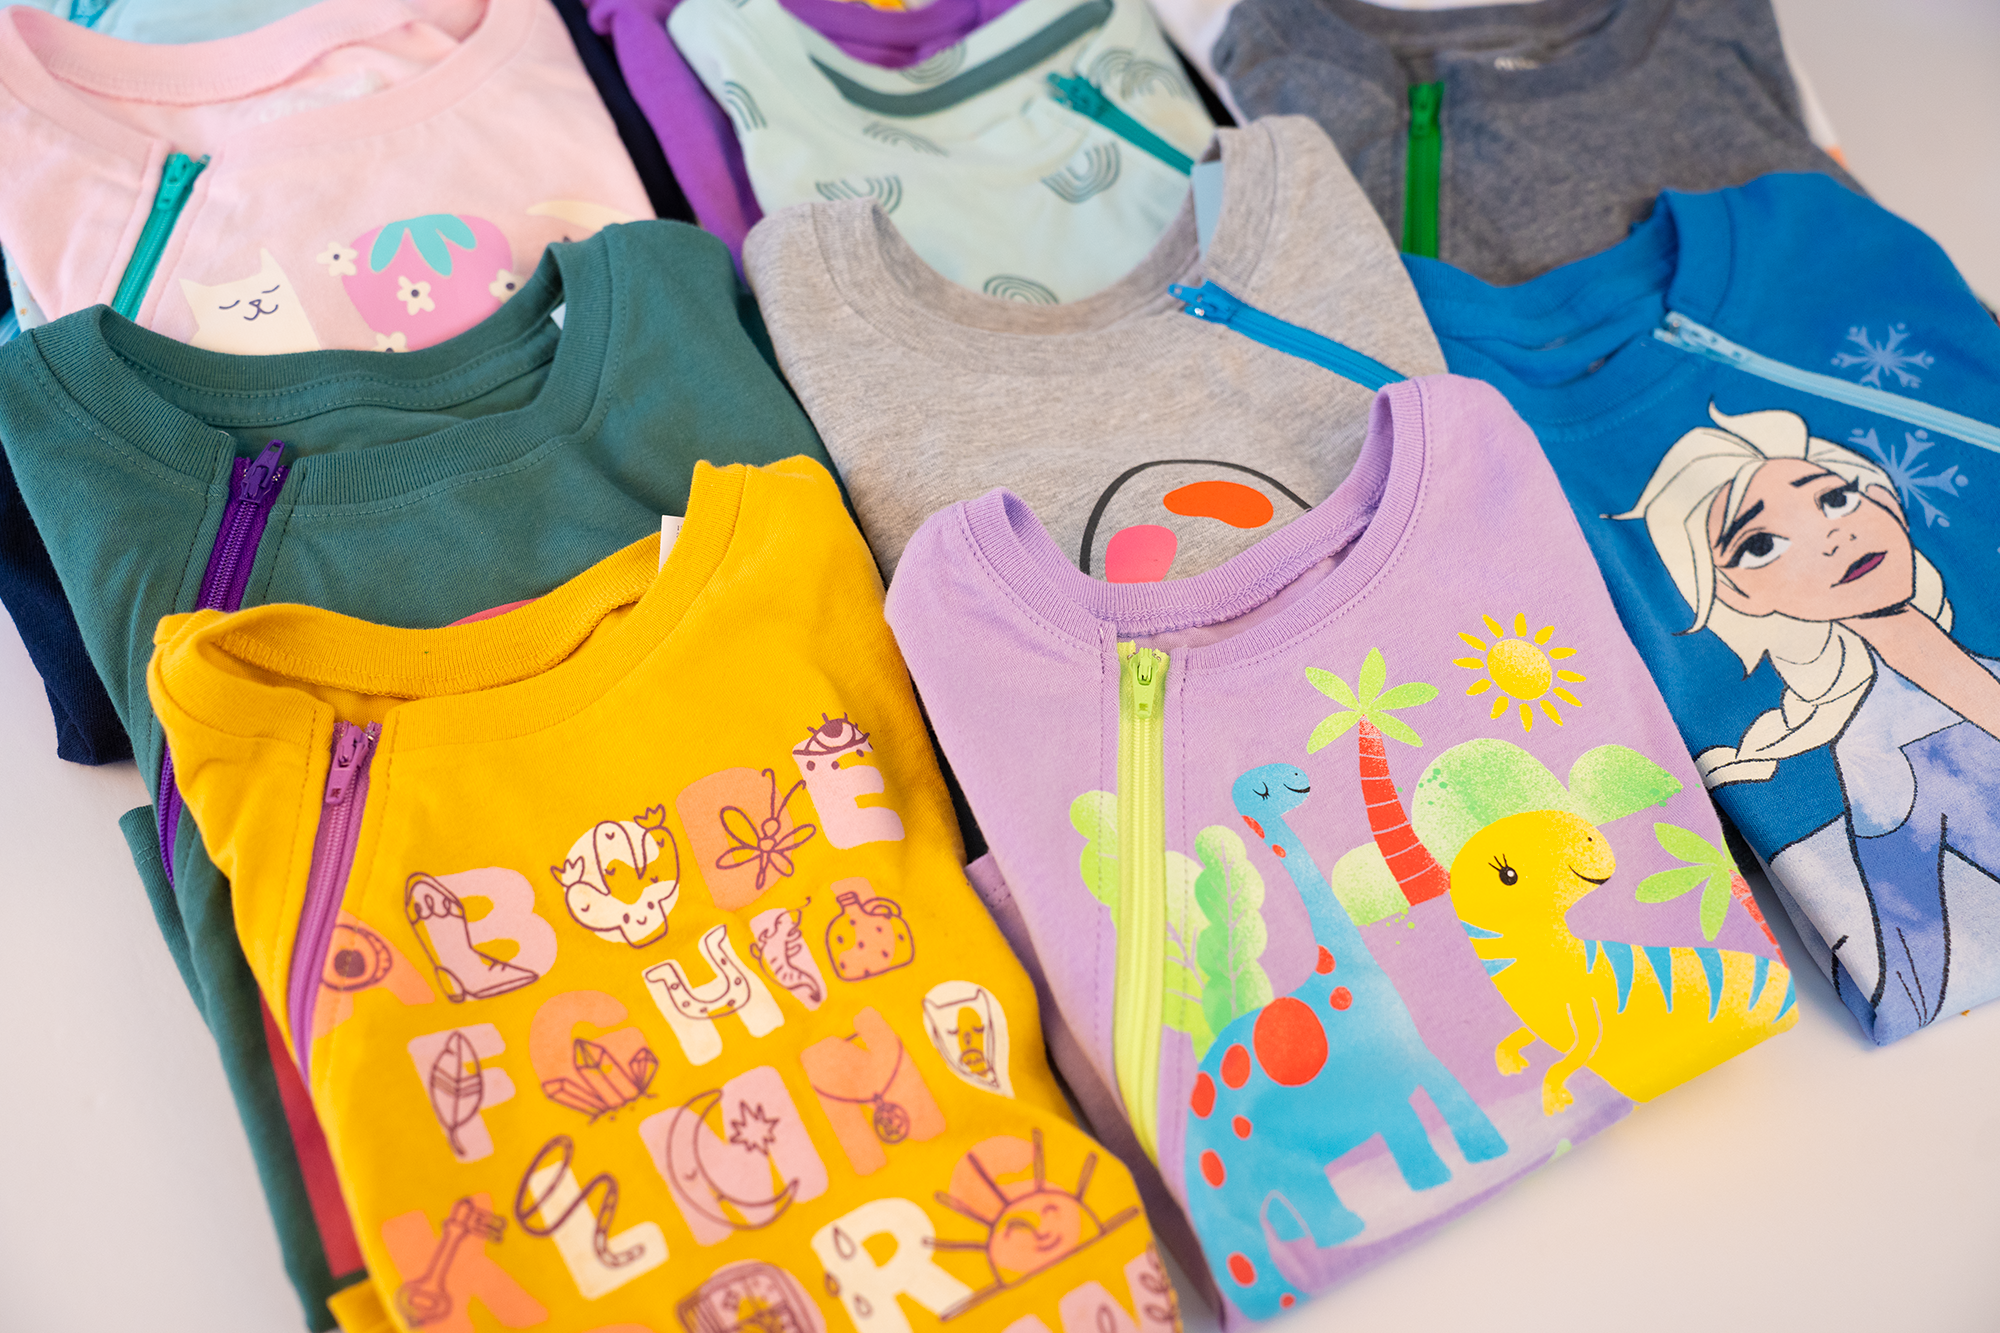
How to Make a Zip Shirt
What you will need:
Iron and ironing board
Ruler and pen
Interfacing light to midweight, iron on
Sewing machine with zipper foot, and thread
Tissue paper
Step 1 – Prepare the interfacing
Cut the interfacing into strips 1 ¼ to 1 ½ inches wide. I use a ruler that is about the right width.
Step 2 – Iron on the interfacing
Place the shirt inside out on the ironing board.
Smooth flat with hands or iron if needed.
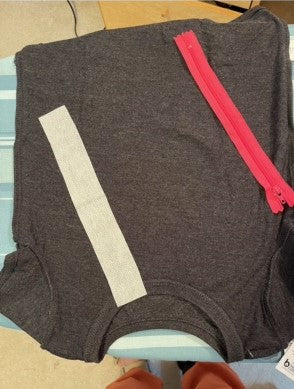
Cut a strip of interfacing the same length as the zipper end to end.
Place the interfacing, smooth side up, on the shirt so that one end is
at the neckline off to the side of the midline. Make sure the end at the neckline is perpendicular to the curve at the neckline. The bottom of the interfacing should be almost touching the side seam for little shirts, and an inch or so away from the side seam for big adult shirts. The most important part is the position at the neck.
Iron on the interfacing and let cool.
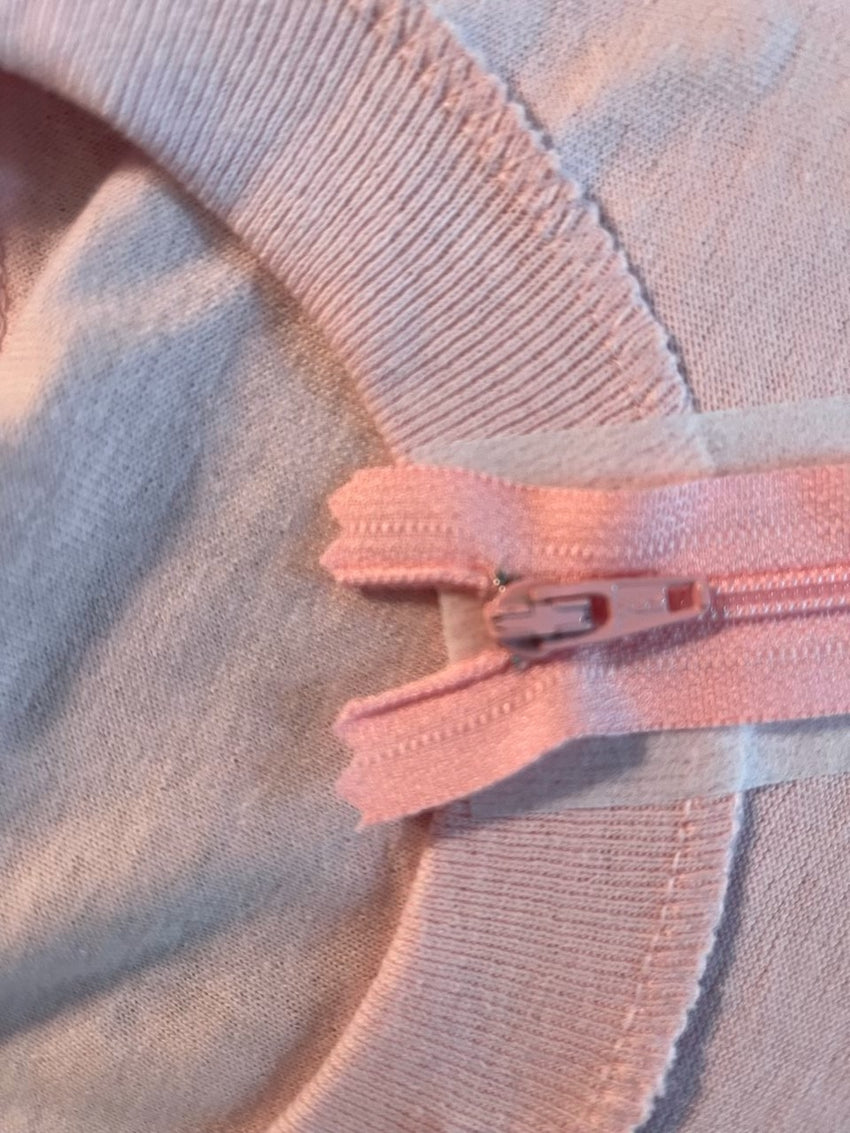
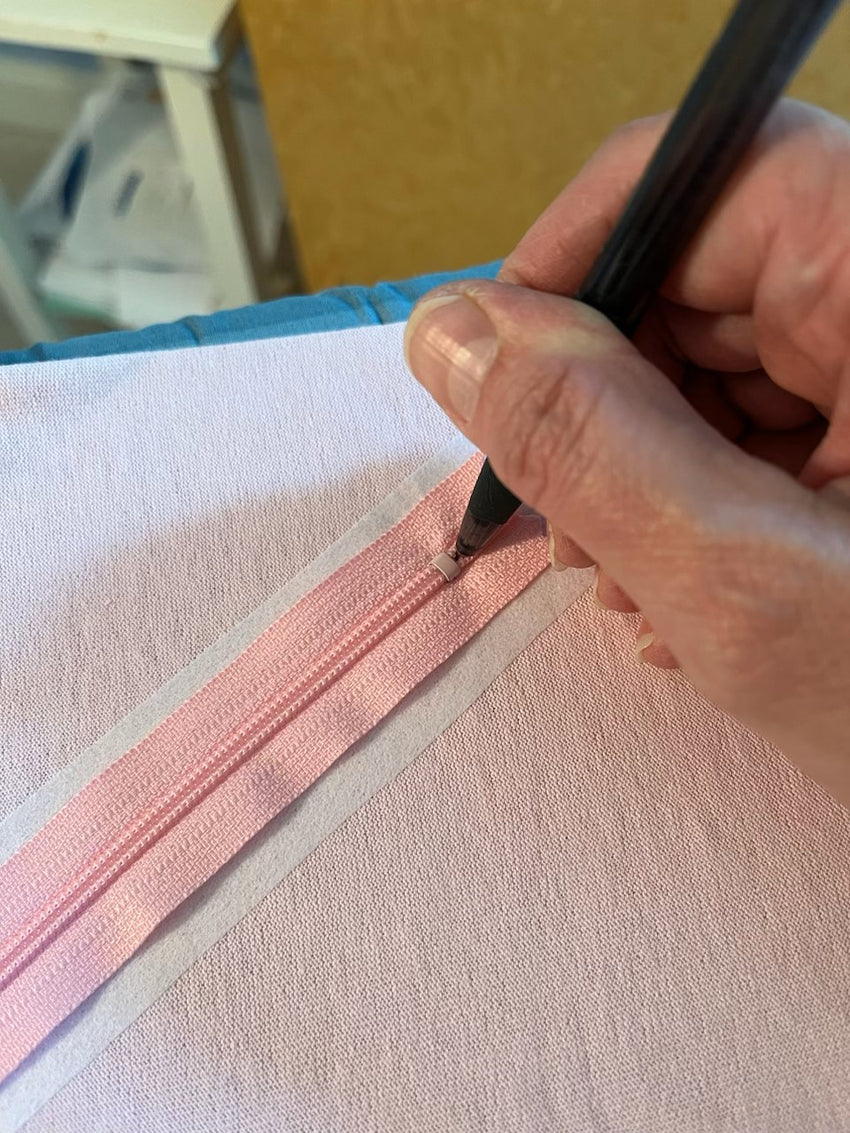
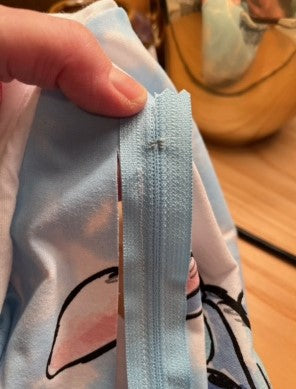
Place the zipper on the interfacing with the top metal stop about 1/8 inch
below the edge of the neckline. Holding the zipper in place, make
a mark with a pen at the bottom end of the zipper just below the metal zipper stop.
Using a ruler, draw a line down the center of the interfacing from the pen mark to the neckline.
Cut along the line drawn.
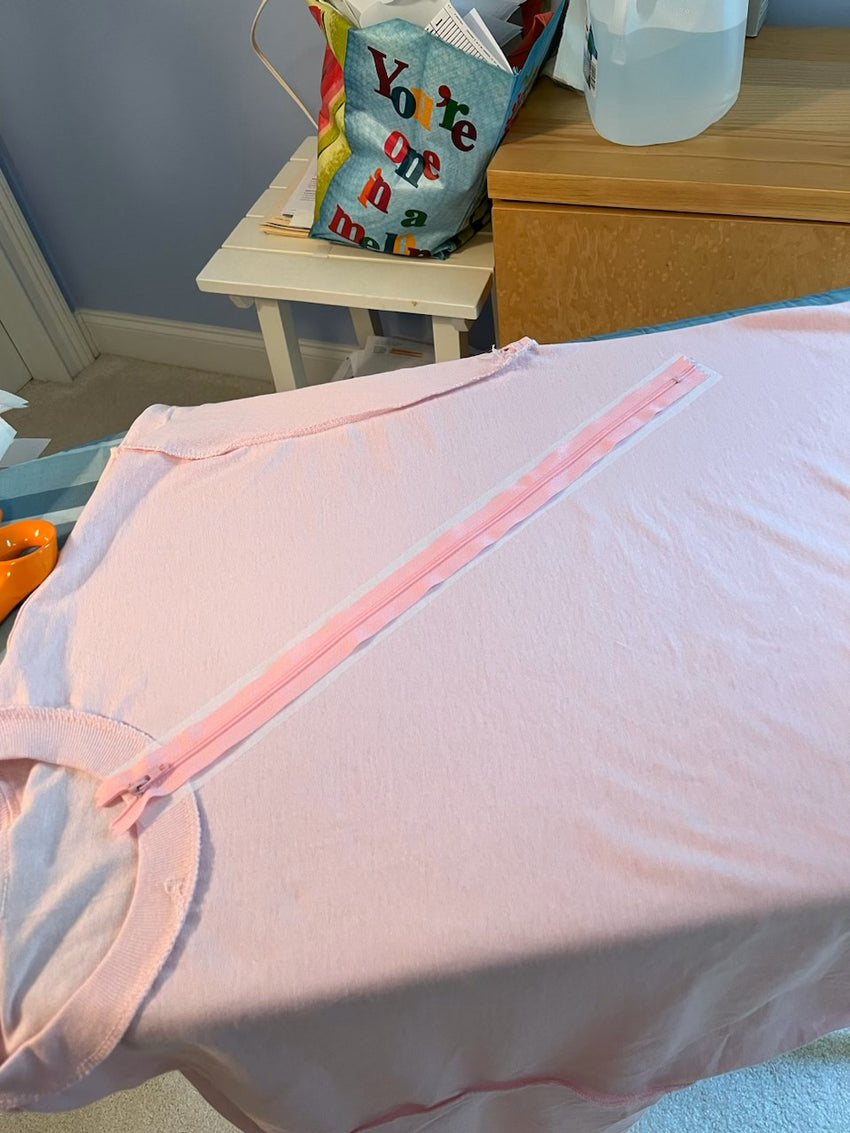
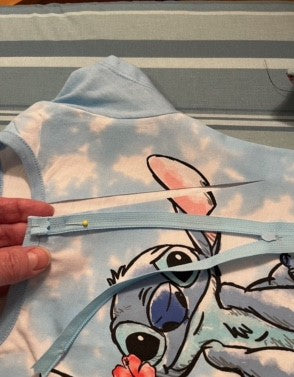
Turn the shirt right side out gently.
Open the zipper and pin it to the right side of the neckline opening, turning down the excess fabric at the top and placing the folded edge of the zipper about 1/8 inch from the edge of the neckline. The zipper right side will be facing the shirt right side and the folded part will be facing you.
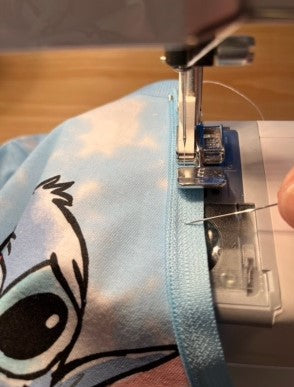
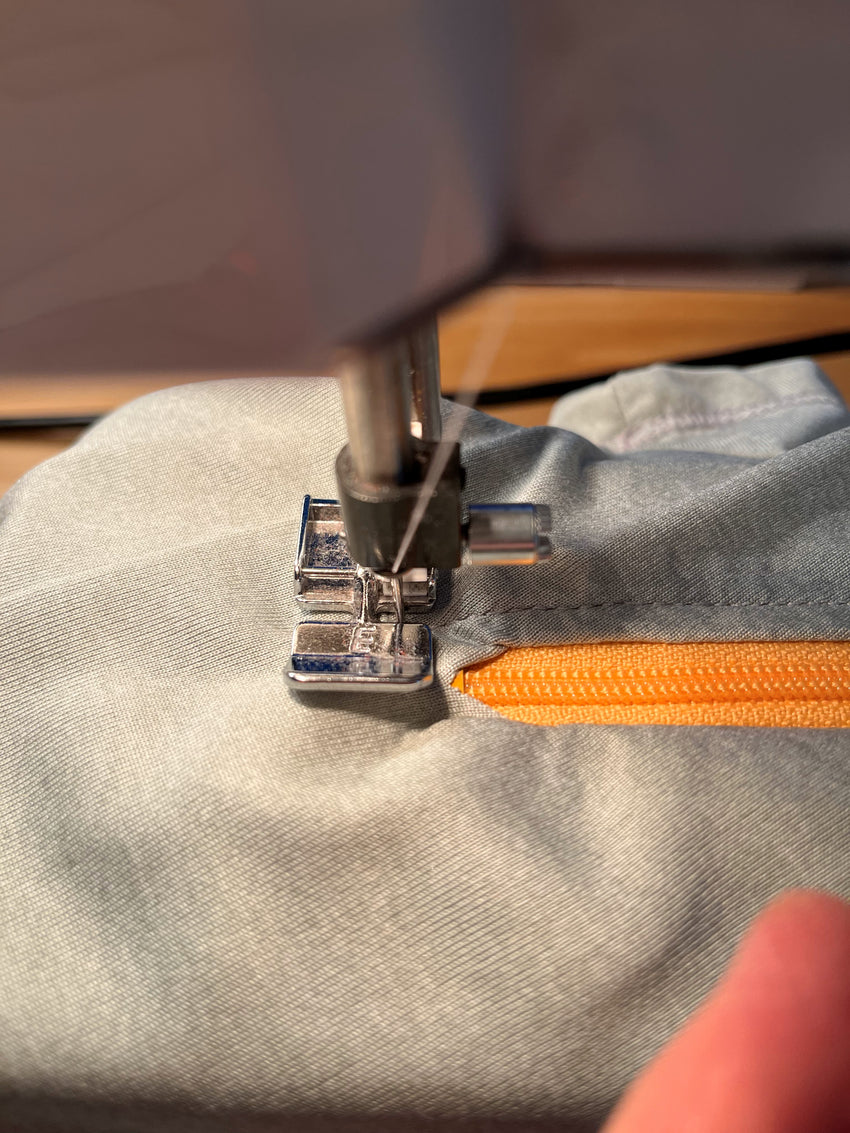
Step 3 – Sew the zipper onto the shirt.
Place the shirt into the machine fitted with a zipper foot.
Use light thread for light colored shirts, dark thread for dark shirts.
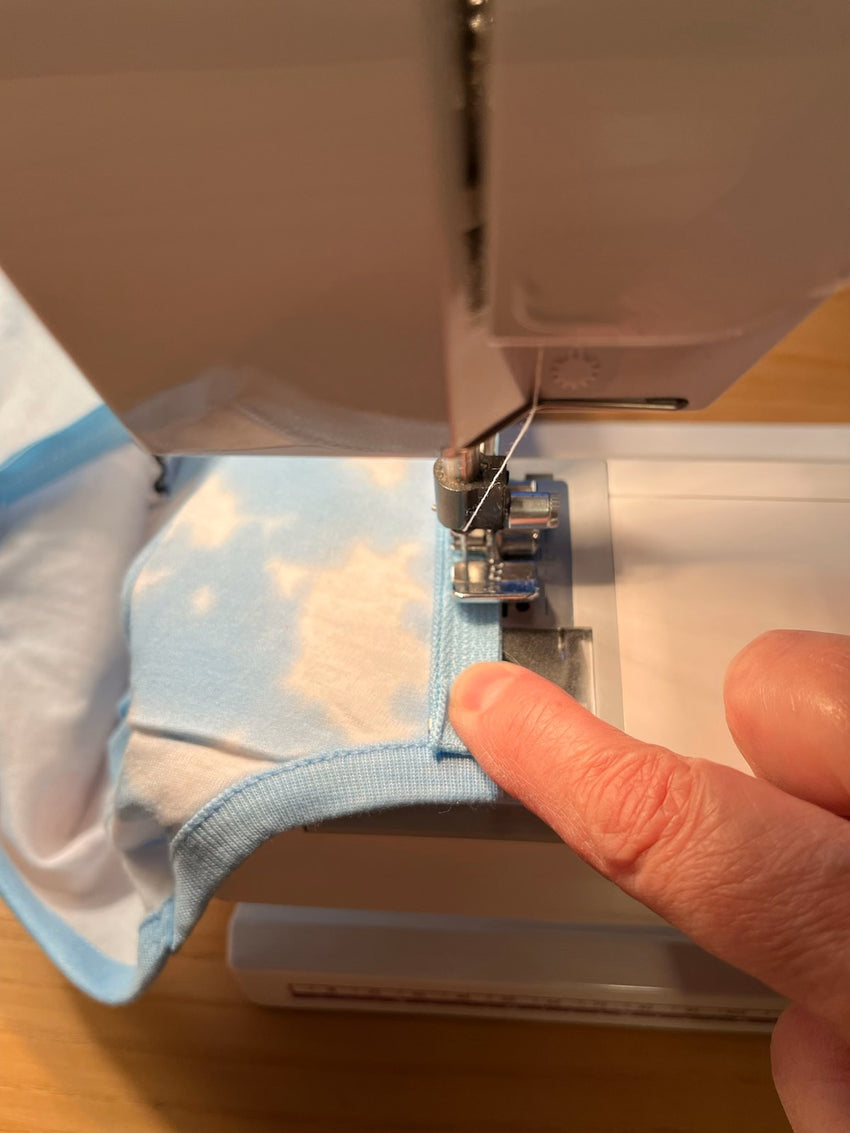
Make sure the folded edge of the zipper is about 1/8 inch from the top of the neckline and the zipper fabric edge is lined up with the cut edge of the shirt.
Stitch from the top down to 1/8 inch above the zipper stop, reversing the direction at the top and bottom to reinforce the stitching. Half way down, close the zipper to allow the zipper to lie flat at the bottom.
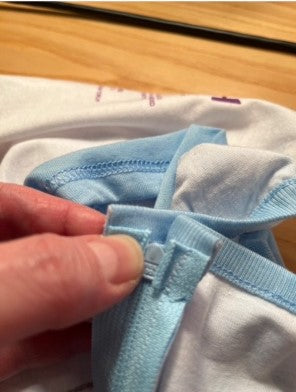
Take the shirt out and look at the bottom of the zipper.
Make sure the cut in the shirt is about 1mm beyond the metal zipper stop.
Gently turn the shirt inside out.
Fold out the zipper, pressing it with your fingers.
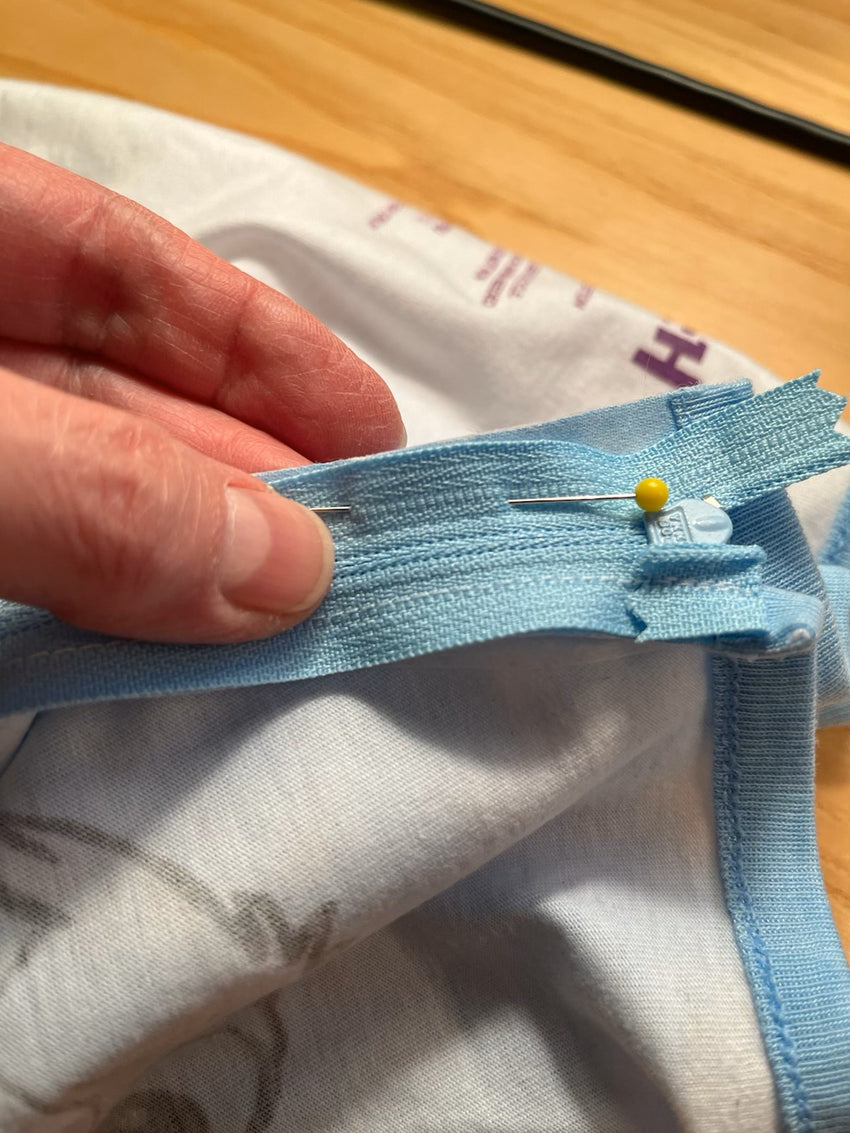
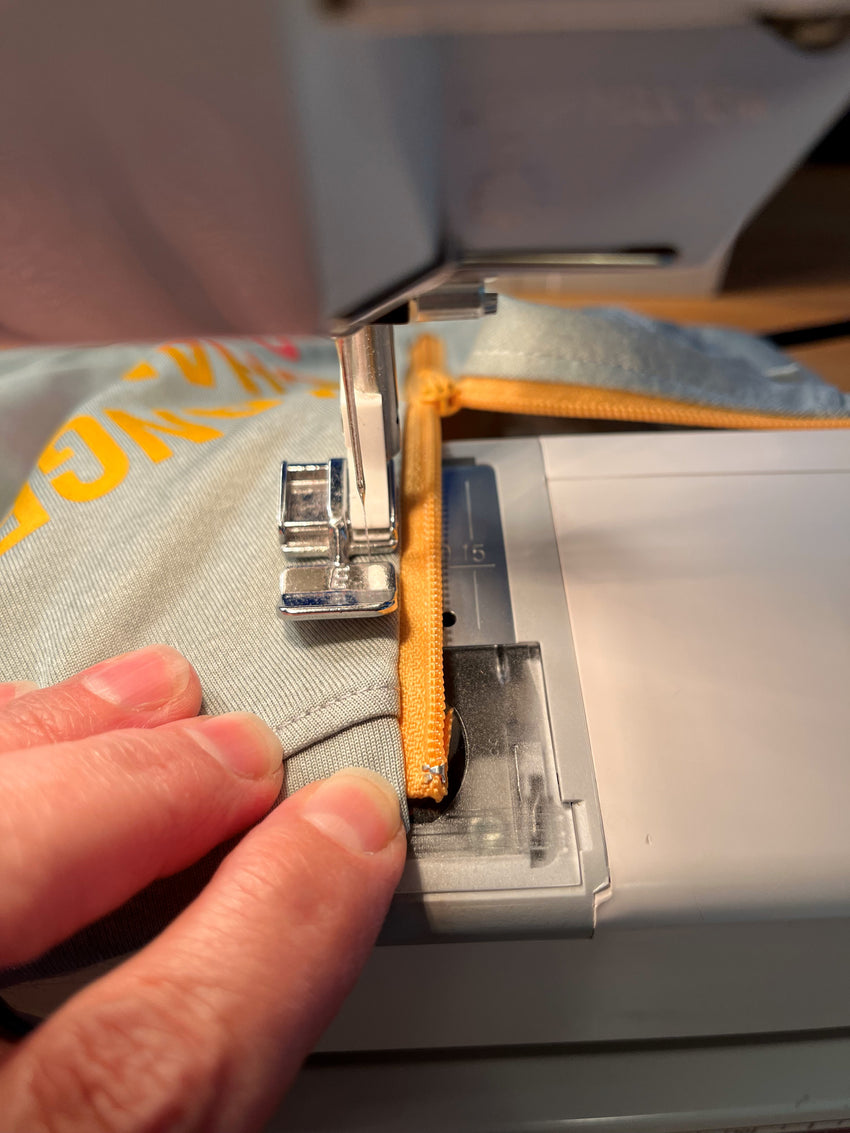
Fold down the top of the unstitched side of the zipper and place it on the
right side of the unstitched side of the shirt, making sure it is the same distance away from the top of the neckline as the other side.
Holding the zipper in place, pin the zipper to the shirt starting about an inch below the neckline. This avoids an awkward pin at the neckline.
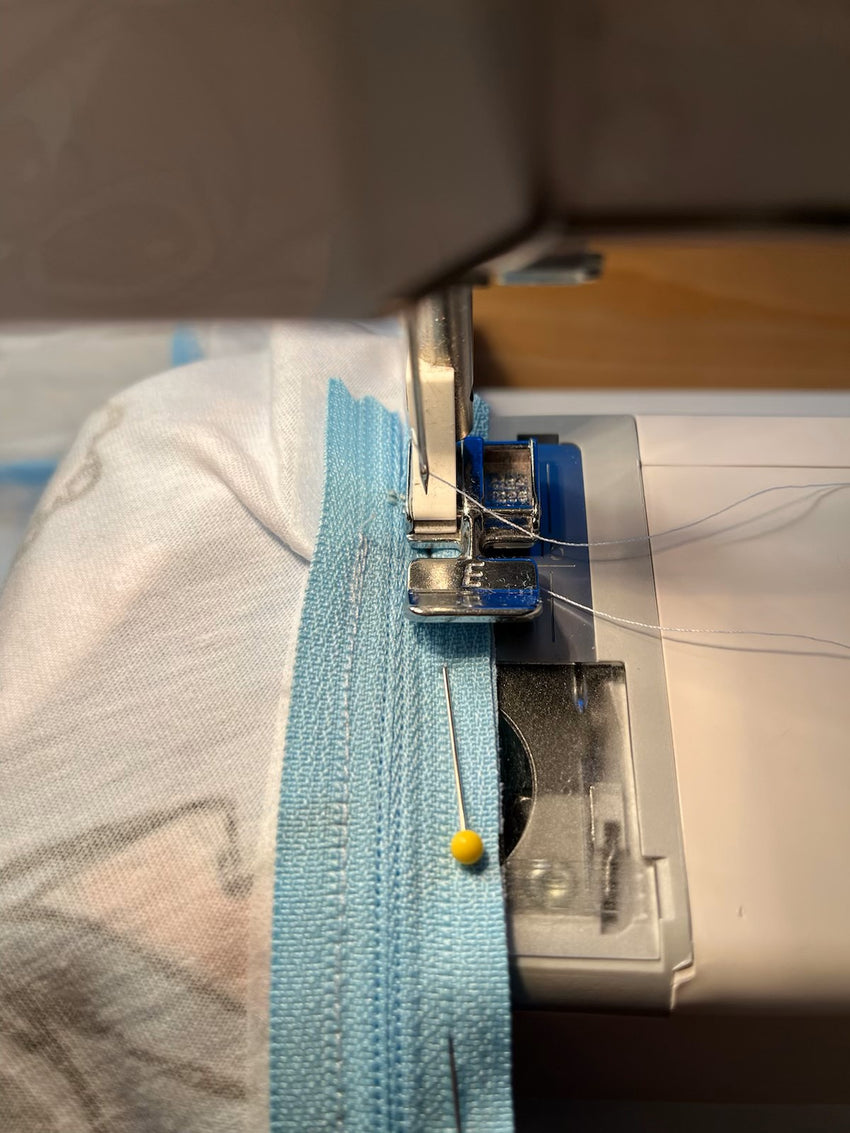
Pin the rest of the zipper to the shirt. At the end, pinch the shirt fabric and pull it out and up so you can pin it all the way down. Place your last pin so it comes out where the stitching ends on the other side.
Stitch the pinned zipper in, starting at the bottom of the zipper, where the last pin exits, to match the other side, and opening the zipper half way through so it will lie flat at the end.
Reinforce at the beginning and end by reversing the direction of stitches.
Make sure to fold down the top of the zipper at the neckline to match the other side.
When done, turn the shirt right side out and lay flat on the ironing
board, pressing open the zipper with your hands. If doing more
than one shirt, pile them on top of each other so the weight will
press the zippers open.
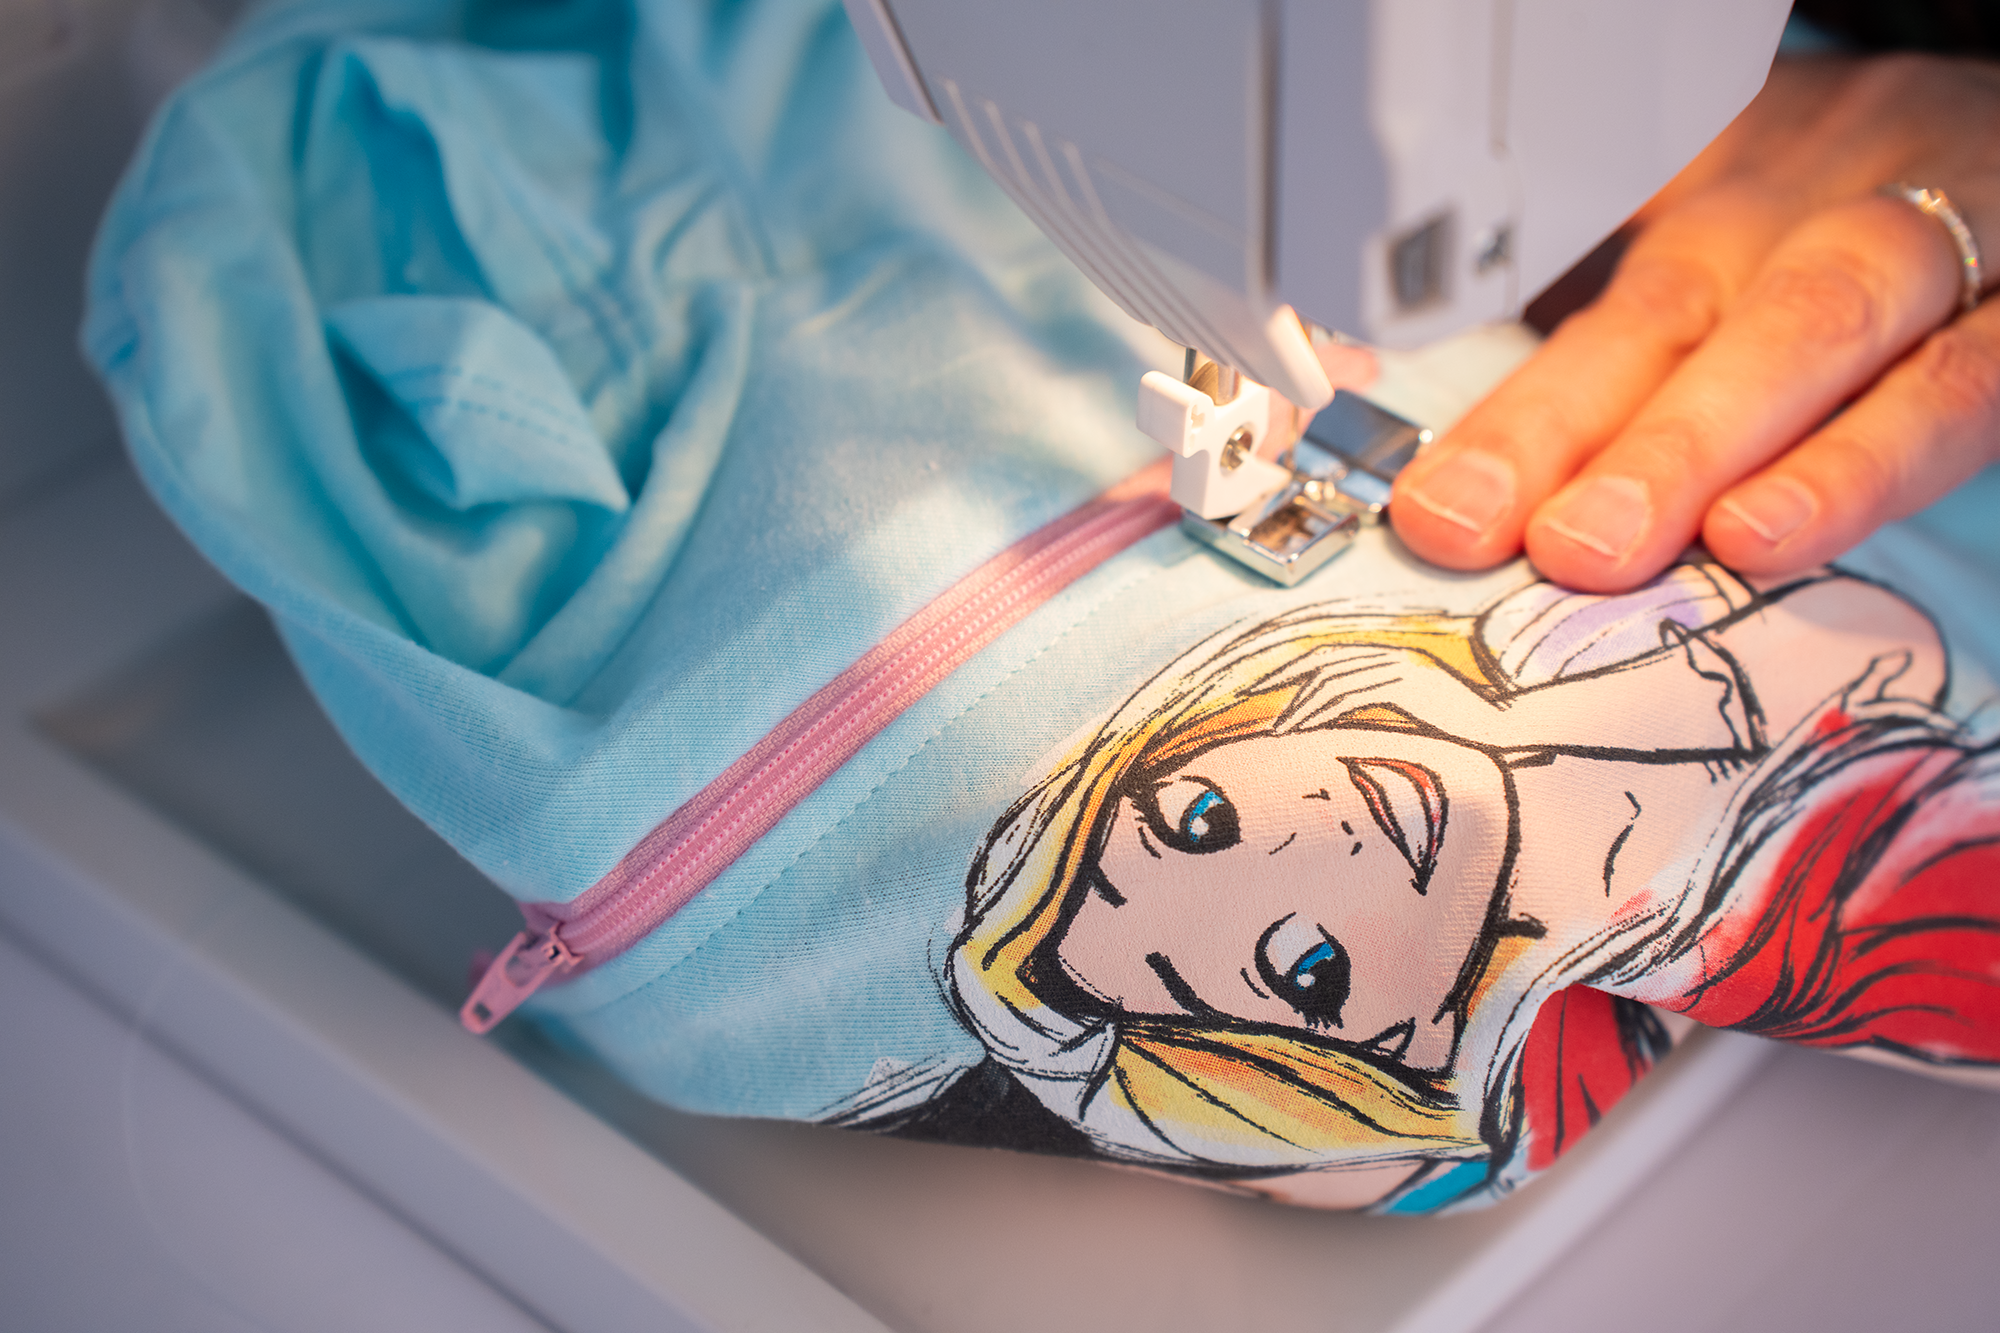
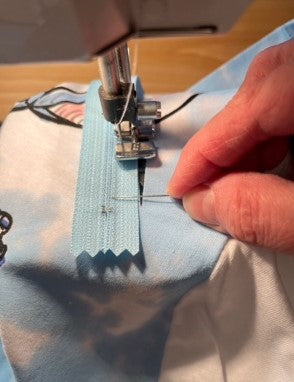
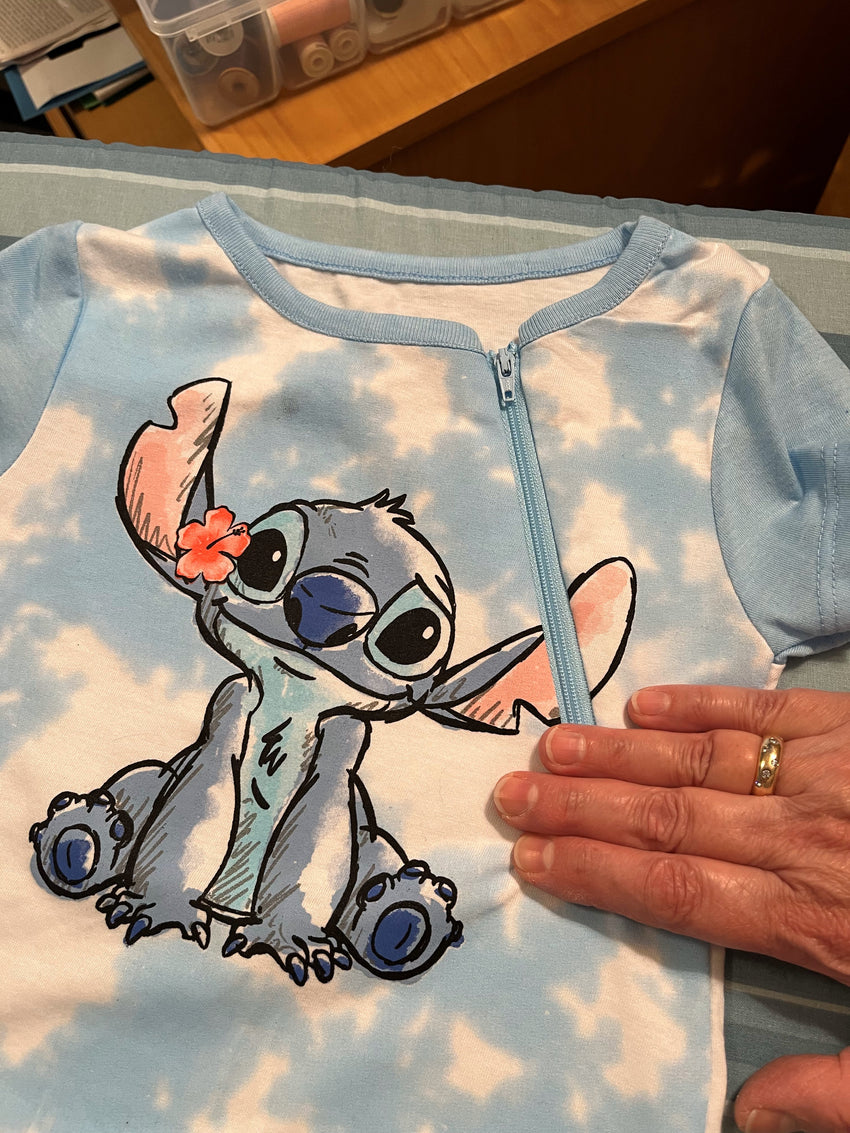
Step 4 – Topstitching
Topstitch around the zipper using thread that matches the shirt or a complimentary color.
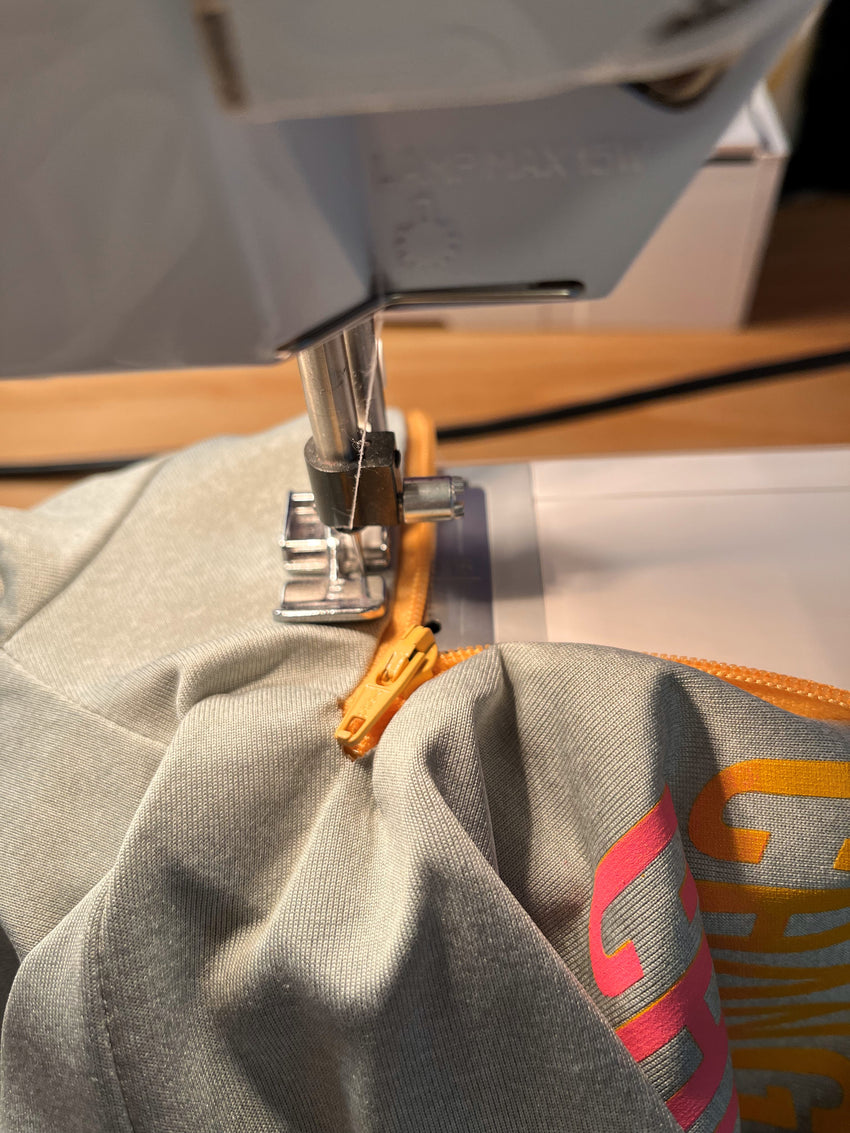
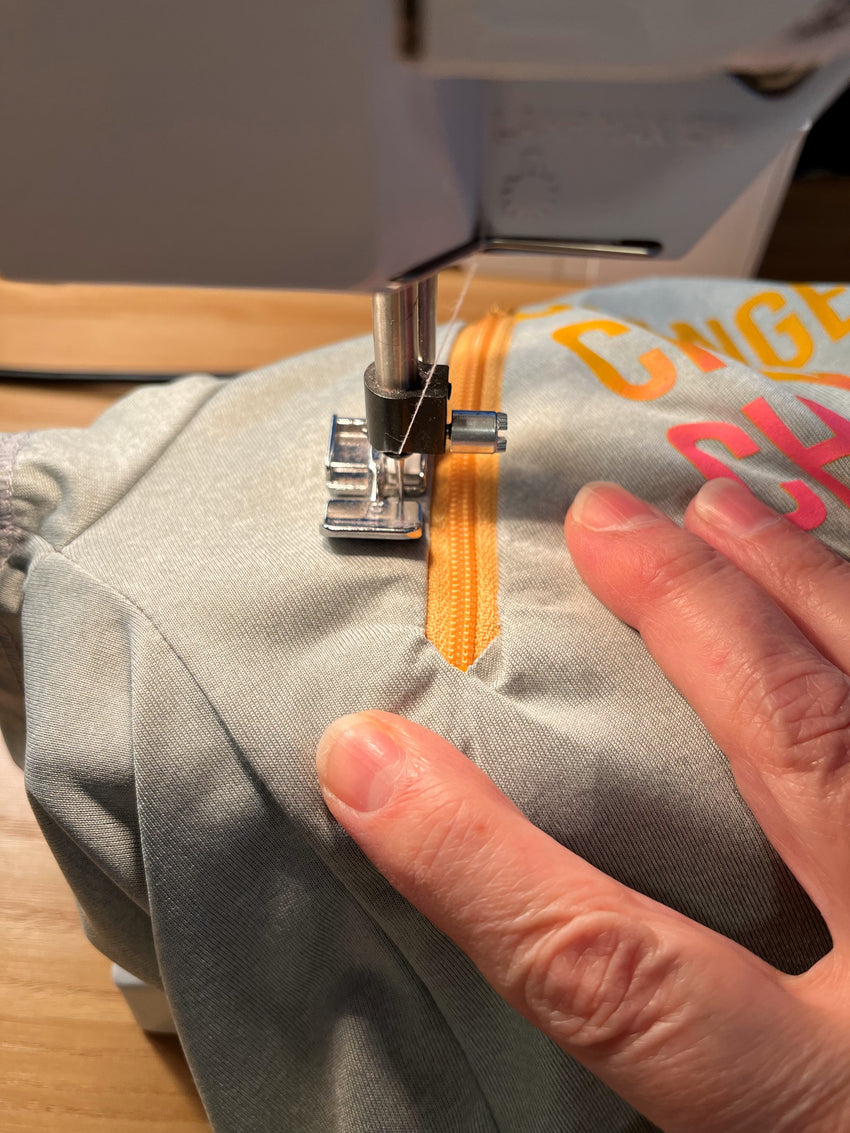
Stitch down one side to the bottom of the zipper stop, then 2 more stitches.
Turn and stitch under the bottom of the zipper, reverse to reinforce, and stitch again.
Turn and zip up the other side, again reversing to reinforce at the top.
If there are graphics on the shirt, place a piece of tissue paper on top of the
graphics so the sewing foot won’t stick. Trim all excess thread.


How to Sew a ZipShirt
Start or Join a Sewing Guild
Want to volunteer as a seamstress for Zip With Us? We’d love to have you!
Fill out this form and we will get in touch with you soon.